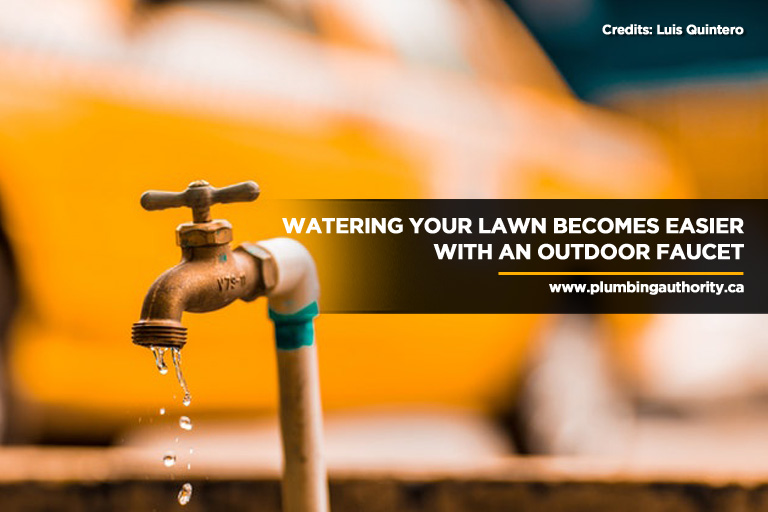
Do you garden, clean, or cook outside regularly? Are you constantly dragging hoses around your yard? Do you have to use a massively long hose just to get proper coverage for your lawn? If you answered “yes” to any of these questions, then a remote outdoor faucet could be the answer for your outdoor chores.
An outdoor faucet is an indispensable tool that can make gardening tasks easier and more enjoyable. Installing a remote faucet may take you a day or two (depending on how much trenching is required) and cost less than $100. Everything you’ll need is available at your local home centre.
The thought of installing an outdoor garden faucet may sound like a cumbersome job for many, but you’ll be surprised at how simple it is for the average homeowner. With the right tools, equipment, and a knack for DIY, you can install an outdoor faucet in no time.
These are the tools you will need:
- 4-in-1 screwdriver
- Adjustable wrench
- Air hose
- Spade
- Utility knife
- Caulk gun
- Tube cutter
- Air compressor
- Cordless drill
- Drill bit set
- Plumbers tape
- Soldering torch
- PEX crimping tool
Materials:
- Backflow preventer
- Flux
- Gravel
- Sandpaper
- Lead-free solder
- Sillcock
- PEX/pipe elbow
- PVC fence post
- Shutoff valves
- Sprinkler system valve box
- 3/4-in. copper pipe and fittings
- 3/4-in. female adapter
- 3/4-in. x 1/4-in. reducer
- 3/4-in. copper T
- 3/4-in. PEX T
- 3/4-in. PEX to copper transitions
- 3/4-in. Plug
How To Install The Pipes And Faucet
As with any task, proper planning beforehand will make everything easier and will help you to ensure that the final product will meet your needs and give you the results that you desire.
Here are the steps to installing an outdoor faucet:
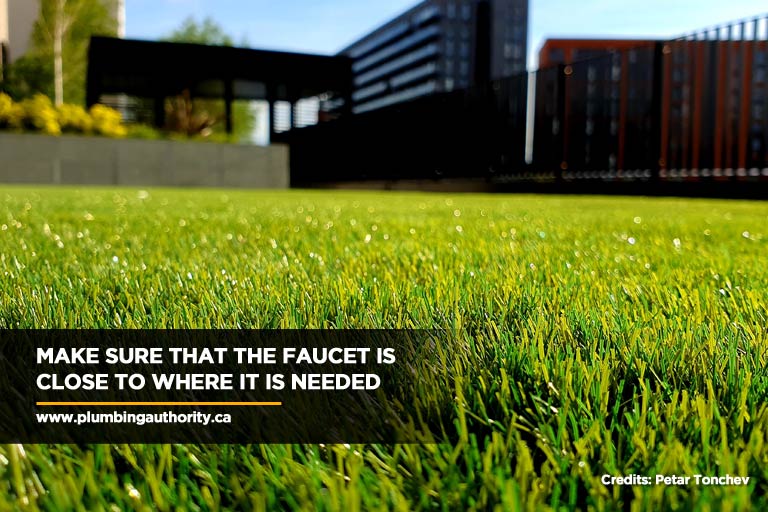
Step 1: Identify The Best Location
Before going ahead with the installation, determine the purpose behind installing the faucet (i.e. What are you using it for?). Once you’ve decided on the goal, choose the ideal location of the installation. Make sure the site allows for proper clearance and is close to the water source.
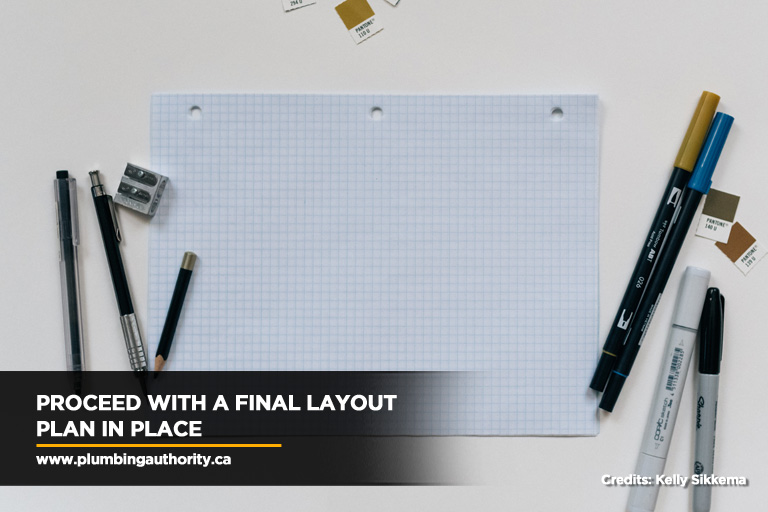
Step 2: Plan The Layout
Measure your existing plumbing and use this measurement as the basis for the plumbing line of your outdoor faucet. Having an idea of where the materials would go will also aid you in determining the number of fittings and pipe length you would need. Keep in mind the size of every part to make sure you purchase the right one.
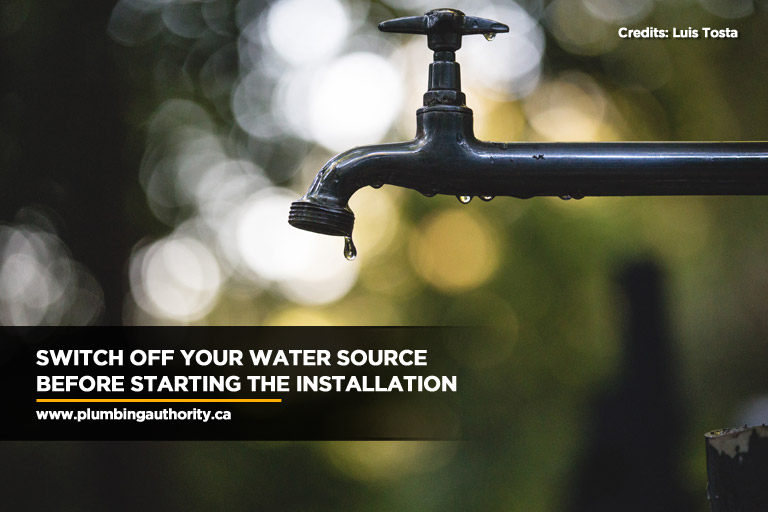
Step 3: Locate Your Water Source
Most houses have their water sources located outside the property. You will have to connect your pipes with this source. If you need a hot water connection besides cold water, establishing a hot water supply is necessary. Make sure to switch off the main valve of your home’s water supply. However, if your water is connected to the city water supply, you need to shut off the valve located near the meter. But if your water supply is coming from a well, the valve close to the pump must be switched off.
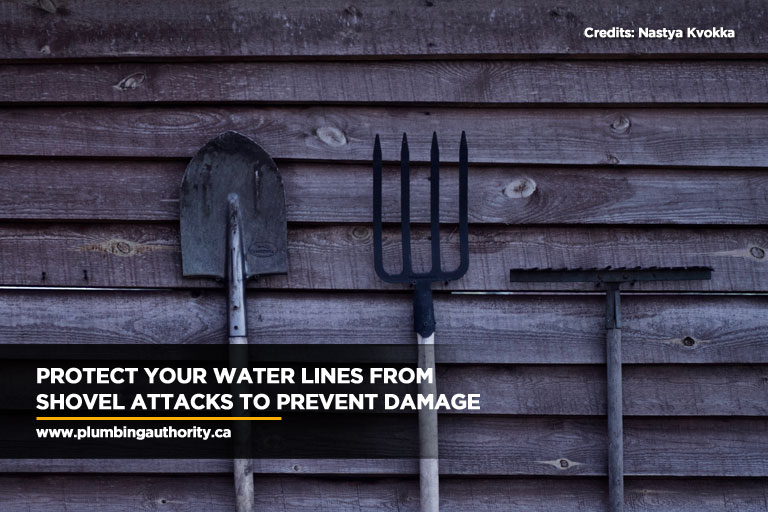
Step 4: Dig Your Trench
Call the professionals so they can help you locate buried cables and pipes within your garden. To complete the job, you only need a depth of 6 inches to bury the water line. That’s the maximum depth you’ll want to go if you’re trenching in rocky soil or hard clay. If you’re digging in soft soil, it’s best to go deeper (12 in. at the very least) to minimize the risks of damage in the future.
Regardless of how deep you’ll need to go, you can keep the water line from shovel attacks by covering the tubing with a few layers of soil and then pouring in 2 inches of dry concrete mix prior to backfilling the trench. The moisture of the soil will harden the concrete.
Step 5: Plumb The Faucet
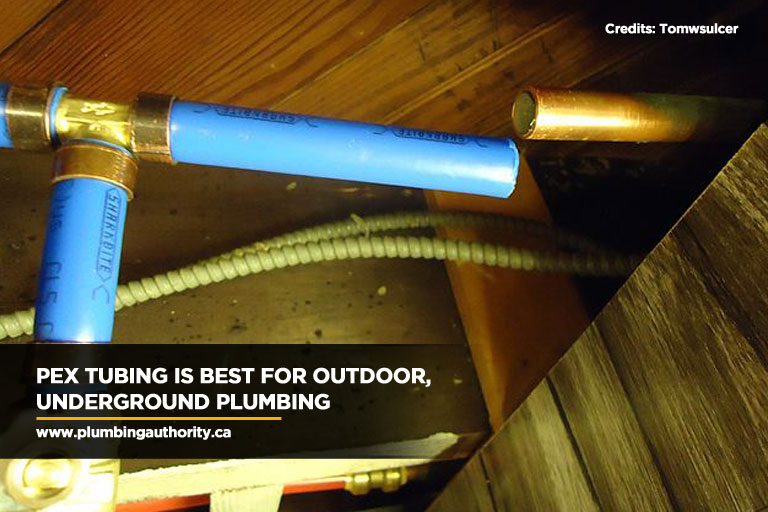
A plastic material commonly used for faucet supply lines, cross-linked polyethylene (PEX) tubing is the recommended tubing for water supply piping systems. Compared to copper, galvanized steel, and PVC, PEX is more flexible and a lot easier to install. It is also highly resistant to water damages caused by frigid temperatures in winter. PEX comes in different diameters, ranging from ¼ to 4 inches. For water supply piping, the most commonly used sizes are 1/2, 3/4, and 1 inch.
Note: PEX should only be installed in approved locations that are fully protected from damage. Keep it away from flame, exposure to UV light, high chlorine concentrations, hazardous wastes, and contaminated soils. These elements can damage the pipe over time.
If you want to have a greater flow rate at your garden, ensure to tap into an interior cold water line of ¾ inc. However, if you can’t locate a convenient one, tap into a line that measures ½ in (although this will get you a lower flow rate). You can tap into a water line prior to the water softener if you have one.
Step 6: Attach The Pex To The Copper Pipe
Ideally, copper pipe is used for exposed plumbing and outdoor faucet pipes. But PEX tube is the best choice for underground plumbing. In addition to its impressive durability, PEX is also less expensive than its counterparts.
You can run a continuous PEX line from your home and create turns without having to install a single fitting. If you choose PEX, you need to invest in a PEX crimping tool. Attach the PEX the copper line and then solder it on a transition fitting. Afterwards, crimp the PEX onto the fitting using a crimping tool.
Step 7: Blow Out The System To Avoid Frost
Blowing out the system prior to the first day of the freeze is an essential step, especially if you’re living in a cold region. This can be done using a home air compressor. But you need to install the components as early as now instead of during the height of winter.
Get in the hose and splice a threaded female adapter (¾ inches) and a tee. Then cap it using a plug. This is where you’ll connect the compressed airline.
At the garden, install a ball blowout valve in a gravel pit. Cover it with a sprinkler system valve box. Close the shutoff valve then unscrew the plug just before the first freeze. Screw in a reducer and an air hose fittings and connect the air hose. Open the faucet and the blowout valve to allow the water to drain. Afterwards, switch off the tap and blow out the remaining water using your compressor. Lastly, turn off the blowout valve and plug back the blowout fitting at the house.
Step 8: Mount The Faucet
Cut out a piece of hollow PVC fence post through which you can mount the faucet (you can build a post using any material). Ensure that the PEX runs inside the post to keep it away from the sunlight. Fix the post about 18 inches deep. Screw the sill cock flange onto the post. Finally, install a backflow preventer. Consult with your local plumber to make sure you’re consistent with the requirements for backflow prevention specific in your area.
If you lack the time to install a new outdoor faucet, you can always contact a top-rated plumber that offers the best plumbing services to help you do the job. At Plumbing Authority, we know plumbing and drain works in King City and New Tecumseth often require the capable hands of a professional plumber.
Call us at (647) 992-7473. We’re here for you 24 hours a day, seven days a week.
You can also fill out our online form to book a consultation or inquire about our plumbing services.