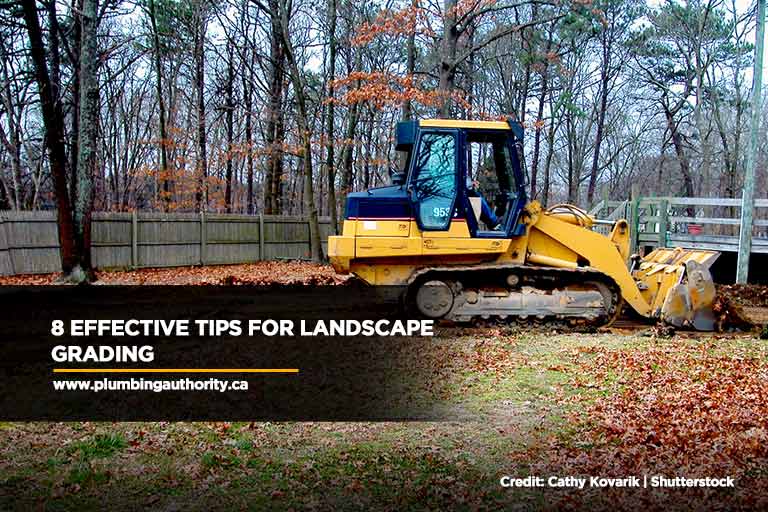
A perfect fusion of horticulture, engineering, and art, landscape grading brings gardening to a whole new level. With strategic placements and the incorporation of manmade elements into the natural design, this controlled chaos brings forth a new kind of aesthetic that’s not only fresh but pleasing to the eye.
However, to do this properly, grading techniques have to be studied well to prevent any gardening mishaps. The best thing about it is that you don’t have to be an expert to end up with a decent landscape grading project. You just need to roll up those sleeves and have time and dedication to learn and do the actual work — or better yet, call a professional to do it for you!
Remember to prioritize the 2 main tenets of landscape grading; aesthetic and functionality. Start your landscape grading project with these helpful techniques:
- Fix Any Drainage Issue
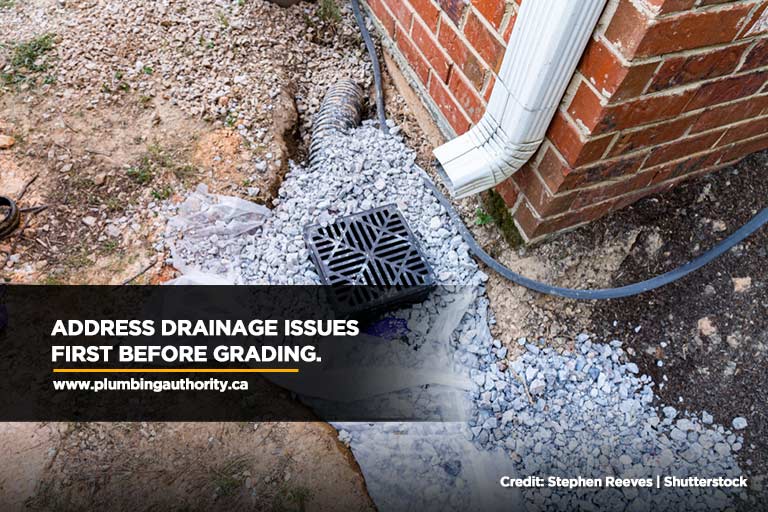
Sloping is among the most common design in landscape grading. Though it gives you the advantage of having a more dynamic-looking garden, it’s also more prone to flooding and drainage issues.
Before you excavate your garden, make sure to address any possible elevation issues first. Sloped landscapes should have the capacity to properly drain any stagnant water. To do this, you can hire professional site inspectors to assess your lawn grading and check if it’s elevated properly. Your planned slope should not go beyond 2%.
Improper drainage systems could lead to property damage such as moulds, waterlogging, and more. You can also consult with an expert plumber from New Tecumseth for pipe installations.
- Purchase Topsoil
Landscape grading requires a total upheaval of your garden’s natural soil. To ensure that plants will still grow healthily on its grounds, you need to replenish the displaced nutrients with healthy soil.
Some landscape grading enthusiasts often debate on which soil is best; sand or topsoil. If you’re planning to efficiently fill out your low zones, then the answer is topsoil. Not only will it retain more water, but it’s also more versatile when it comes to providing the right growth ingredients for your plants. However, this soil type can be quite expensive. So, instead of using 100% topsoil, you can always have a 50:50 ratio of sand and topsoil.
However, if you’re set on using sand due to its aesthetic appeal, then you should hire plumbing services to develop a proper drainage system since sand doesn’t retain much water.
- Mark Utility Lines
In a complete garden revamp, landscape grading is a total excavating process that completely transforms the natural slopes of your garden. However, as you’re digging deep, you have to be on the lookout for any utility lines buried below.
Be it water pipes, gas lines, electrical wires, or telephone cables, you have to be careful that you don’t cut off or damage any of these. Mark the areas of your garden where these lines are and indicate the highest and lowest points. This way you can have a more accurate level of grading.
- Compress the Filled Soil
Building a sturdy foundation is essential in landscape grading, especially with the dynamic slopes that it creates. Simply filling the excavated areas with soil won’t be enough to create that rock-solid base.
You need to add force to strengthen it and you can do this by simply laying plywood on the dirt, stomping, jumping, and walking on it. This will press down the soil below and release any air spaces that could make it porous and weak.
- Plant Trees in Proper Order
Trees, no matter how much you try to control their growth, can always go wild. When it comes to landscape grading, you have to be careful in how you place your trees, shrubs, and flowers.
The best way to go about this is to start with trees, followed by shrubs, then flowers. This planting hierarchy will help your garden adapt to any changes that your tree may bring.
- Keep an Eye for Any Grading Issue
Drainage and grading are among the most common problems that both amateur and expert gardeners face during a landscape grading project. As water can be unpredictable on where it flows, you need to ensure that no stagnant water should be created within your garden dips. These grading issues could be breeding grounds for mosquitoes and flies, and damage your garden in the long run.
- Follow the Correct Slope
Regarding landscape grading, one of the key things that you should always practice when planning to create your design is to introduce the slope correctly.
As you begin, make sure to pitch away as per the recorded elevation, even if you need to replant some shrubs. Doing so may be taxing, but it will be beneficial in the long run as it creates stronger structural integrity and lessens the chances of flooding.
- Use the Right Tools
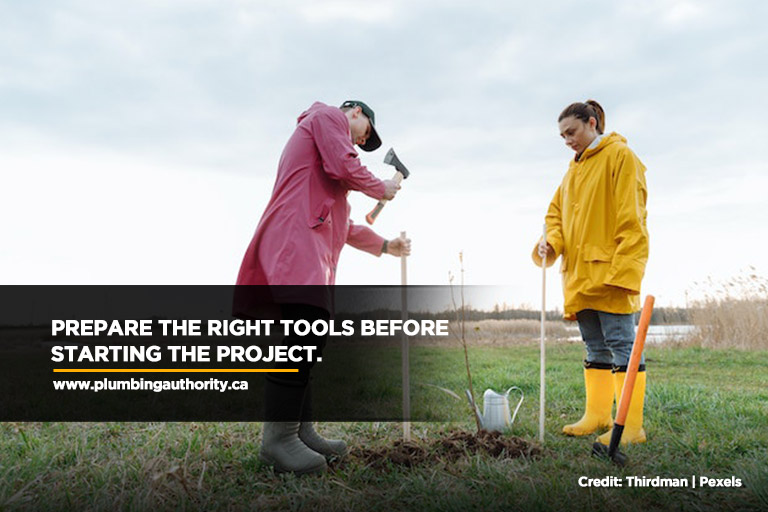
To yield the best results, you have to utilize the right tools and equipment. The most basic materials for landscape grading include flathead shovels, rakes, carpenter level, wooden stakes, lawn roller, mulcher, wheelbarrow, and compost.
You can add extra equipment to your list, but as long as you have these essentials you’re good to go. If you don’t, you can always go to a store that specializes in landscape grading near you to purchase some equipment.
Starting on your landscape grading project can seem like a daunting task, with so many factors to consider and unforeseen hurdles to face.
Fortunately, you can prepare for these challenges through careful planning and research. However, when push comes to shove, and it’s simply too difficult to handle on your own, you can always call professional excavating and grading services for help. Plumbing Authority Inc., is at your service. Call us now at 647-992-PIPE (7473) for your excavating, plumbing, and grading concerns.